Creating/Editing Courses
This article describes how to create and edit courses with different settings.
ClassReach Admins can create courses and edit courses. While there are different ways to implement courses and sections, this is our recommended structure to avoid conflicts with other aspects of ClassReach.
Course vs. Section
A course can be looked at as the “Subject” that is provided by a school. Meanwhile, a section is better looked at as the specific class taking that subject. For example: A school offers an 8:00 a.m. Algebra II class taught by Mrs. Johnson and then an 11:30 a.m. Algebra II class taught by Mr. Richards. This would be set up in ClassReach as follows: an Algebra II Course containing two Sections, one for Mrs. Johnson’s class and one for Mr. Richard’s class.

- Sign in to your Admin ClassReach account.
- Navigate to the Courses tab at the top of your screen.
When you create a Course, you are setting basic data fields for that course, but not all of them. See the topic below, Additional Course Data Fields.
To Create a New Course
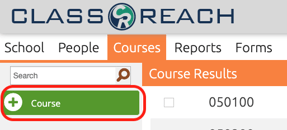
- Click the green +Course button at the top of the left side bar.
- Fill out all relevant fields:
- Course Name: Required. This is what appears on reports and transcripts.
- Course Number: Required. This is the number your school assigns to this course, many times the number can indicate what academic level/subject etc. the course is.
- Subject Abbreviation: Required. This is a short note for the course. For example: Alg may be used for Algebra.
- Description: This is where you can tell users a little about what they can expect to learn in the course.
- Tuition: used with Course Registration. Enter the total tuition to be charged.
- Deposit: used with Course Registration. Enter the deposit to be charged.
- Next will be any Course Options you have created in Settings.
- Academic Level: Select the academic levels eligible to take the course. See note
- Select a Department: Required. The Department options are created in Settings.
- Click Save
To Edit a Current Course
- Use the left hand side bar to locate the course you would like to edit.
- Click the Edit button at the top right of the window.
- Edit all relevant fields.
- Click Save.
Additional Course Data Fields
The fields listed below are not available to set when you create the course and can only be set by editing a current course.
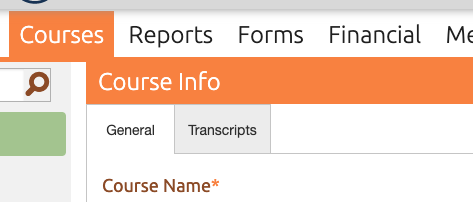
There are two tabs in a Course where you can enter course data - General and Transcript
General Tab
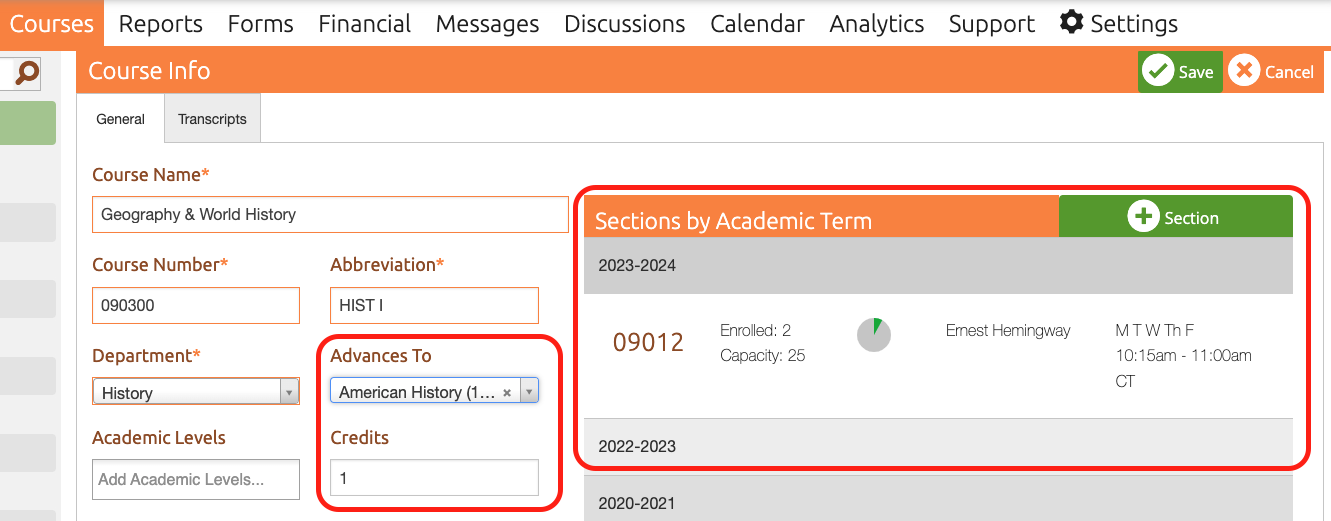
- Advances To: This field is not commonly used. See our article on Advancing Sections
- Credits: the definition varies by state and school district. A common implementation is awarding 1.0 credit for a full year class and 0.5 credits for a one-semester class. See our article Transcripts - Putting it all together for a full explanation.
- Sections: you can edit a specific section or add a new section - Creating/Editing Sections
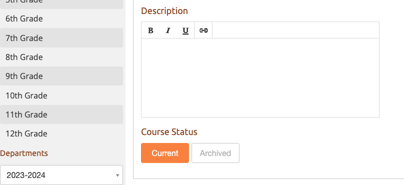
- Course Status: you can choose Current or Archived. Courses can be archived during school years when you don't offer them and brought back when you do. Courses can't be deleted.
Transcripts Tab
See our article - Transcripts - Putting it all together - for all the connections that feed into a transcript.
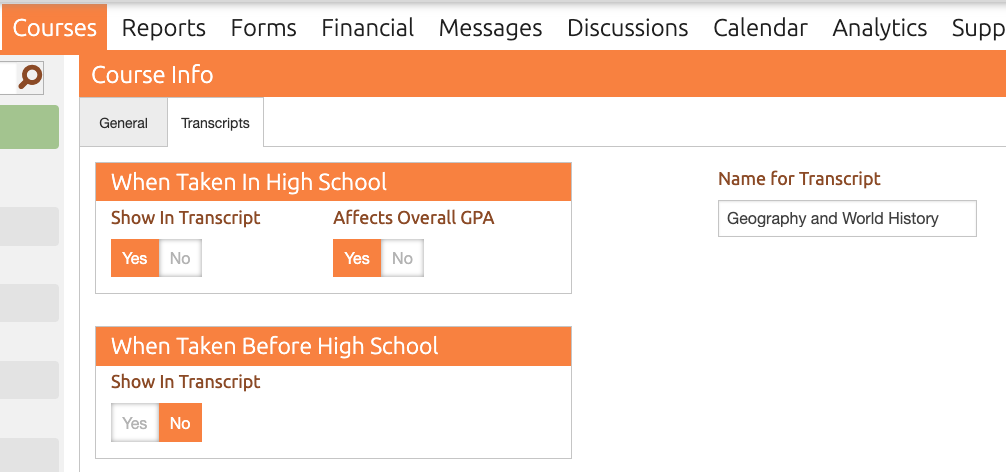
- Name for Transcript: an alternative name to use for the course on the transcript. For example, if you call it "9th Grade History" you can name it "Geography and World History" on the transcript.
When Taken in High School - gives you the option to include/exclude this course from the transcript and impacting the GPA.
- Show if Transcript: Yes/No
- Affects Overall GPA: Yes/No
When Taken Before High School - if you wish to include a course taken before high school on the transcript select Yes for one or both of these. For example, Algebra 1 is typically a high school class, but could be taken in 7th or 8th grade.
- Show if Transcript: Yes/No
- Affects Overall GPA: Yes/No. (displayed only if you select Yes to "Show in Transcript")
You don't designate a course as a "High School" course.
1) You select Academic Levels for each course.
-- 9th-12th grade are the default "High School" Academic Levels
2) The Academic Levels you select for a course determine if the course is "High School."
For further info, see our article on Academic Level Settings.

