The People Page Overview
The People Page contains all the people associated with your school - applicants, current users/families and archived users/families.
From the People Page, an Admin can create, edit, view information on, and archive people, families and applicants. This is also where an admin can go to set permissions and send Welcome Emails.

The left side bar is an important tool to help you locate or create people. For example, Applicants and Archived users will ONLY show in the list, if those filters are selected.
- The Search bar allows you to search by name, last name, first name or portion of name.
- Use the +Person, +Family or +Applicant to add new people to your school database.
- Most importantly, you may filter by groups of users enabling your data to be more manageable. Generally, you click on an option to filter and click that same option again to remove the filter. If the filter returns results that don't seem correct, scroll the left side bar up and down to ensure that you don't have a filter selected that you don't want. Sometimes, you can have more than one filter selected.
- Clicking on Families will filter the list of people to only families.
- Clicking on a Role will filter the list to only people with that role. You may select one or more roles (eg, if you want to filter for everyone with the Teacher and Guardian role).
- You can only filter for one Academic Level at a time (this returns only Students).
- Filtering by Schedule - Conflicted will give you a filtered list of any students and teachers that have sections with overlapping meeting times. Once you have selected a user from this filtered list, click on their school tab to see which sections are affected. This filter can also be used after corrections to make sure you didn't miss any conflicts.
- The Applicant section allows an admin to filter by the various steps in the application process and it's from here that you manage the application workflow of current applications. It is recommended that you archive applications once they've been approved or declined to keep your list size manageable. Also, we recommend archiving all applications from the current school year prior to opening up applications for the next year. Applicants are added into the database as people when their applications are approved so you don't have to manually add them or their family. The options for filtering applicants are as follows:
- Awaiting Approval
- In Progress
- Approved
- Declined
- On Hold
-
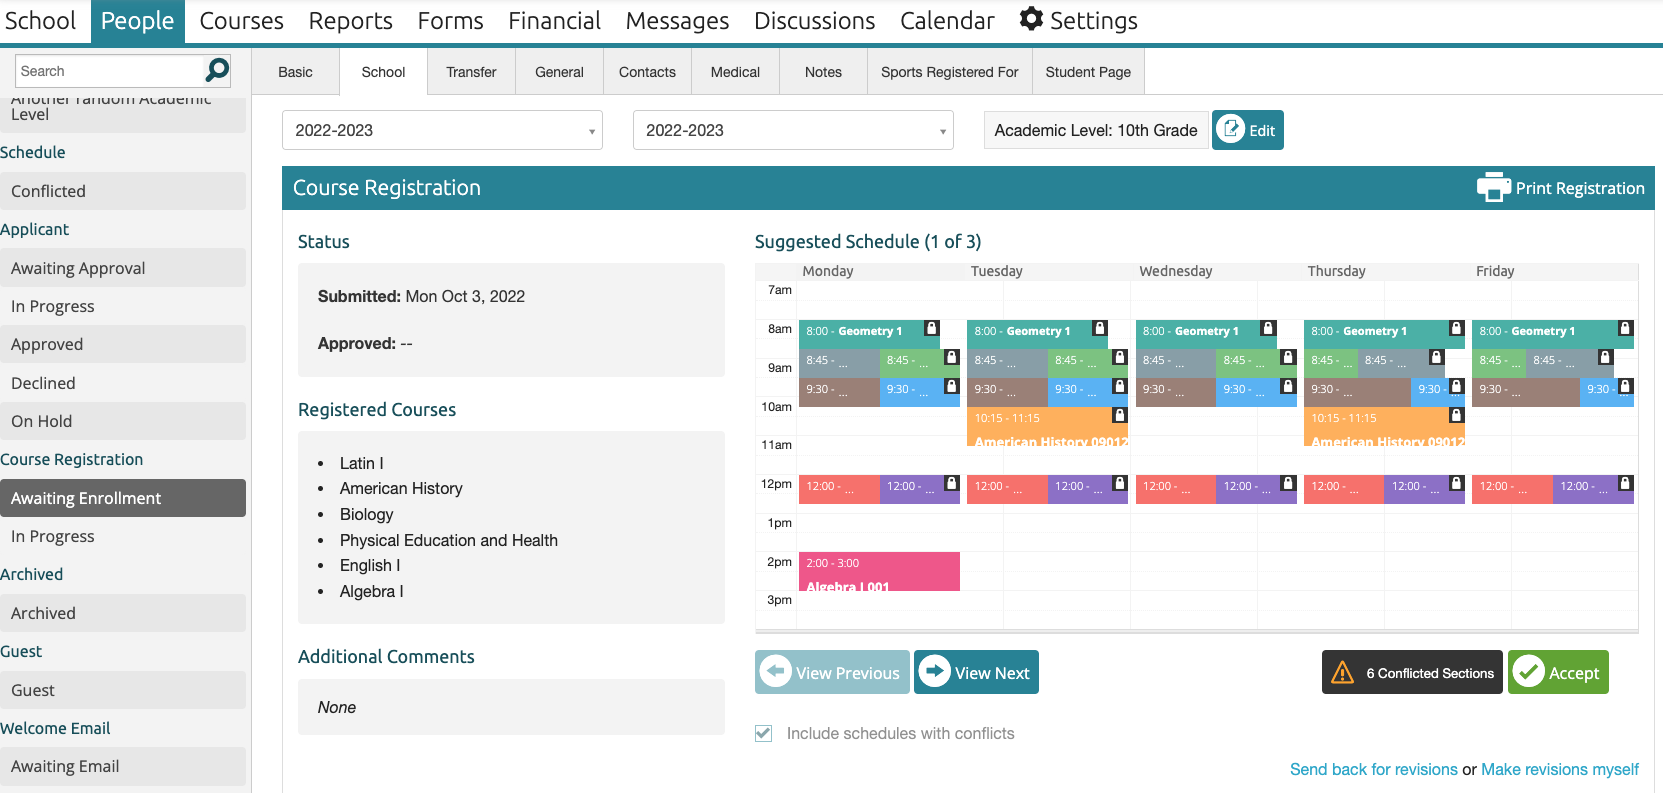
- Course Registration allows an admin to filter by two stages of the course registration process (if your school has opted to use Course Registrations in ClassReach).
- In Progress allows you to see students at this stage of registration. By clicking on the student, it takes you to their school tab where you can Take Control of this Registration, print the registration or see who's responsible for completing the registration.
- Awaiting Enrollment allows you to:
- see the Status of the registration
- view the Registered Courses and Comments
- view Suggested Schedules
- Print the registration
- Accept the registration
- Send back for revisions
- Make revisions yourself
- Course Registration allows an admin to filter by two stages of the course registration process (if your school has opted to use Course Registrations in ClassReach).

- The Archived filter allows you to display a list of all Archived Families and Users. This can be further filtered by Family, Role, Application Status and Guest.
- The Guest filter shows Guests in the database.
- Welcome Email has one option to filter for - those Awaiting Emails.
Actions that you can take from the People Page
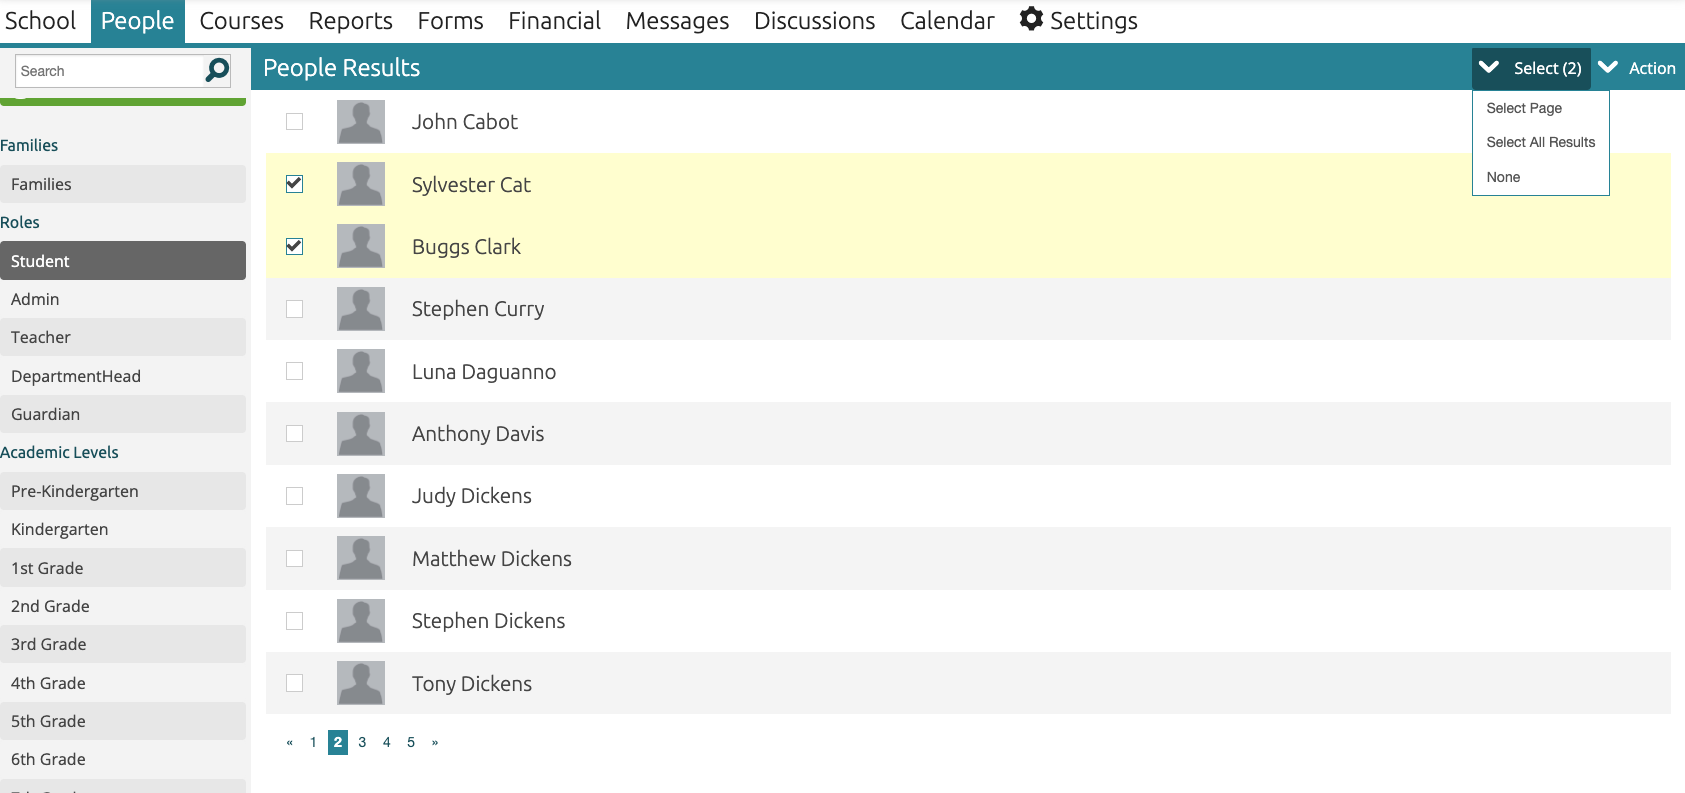
To the left of the names on a People Page list, you will see a check box next to each name allowing you to choose none, some or all for your intended purpose.

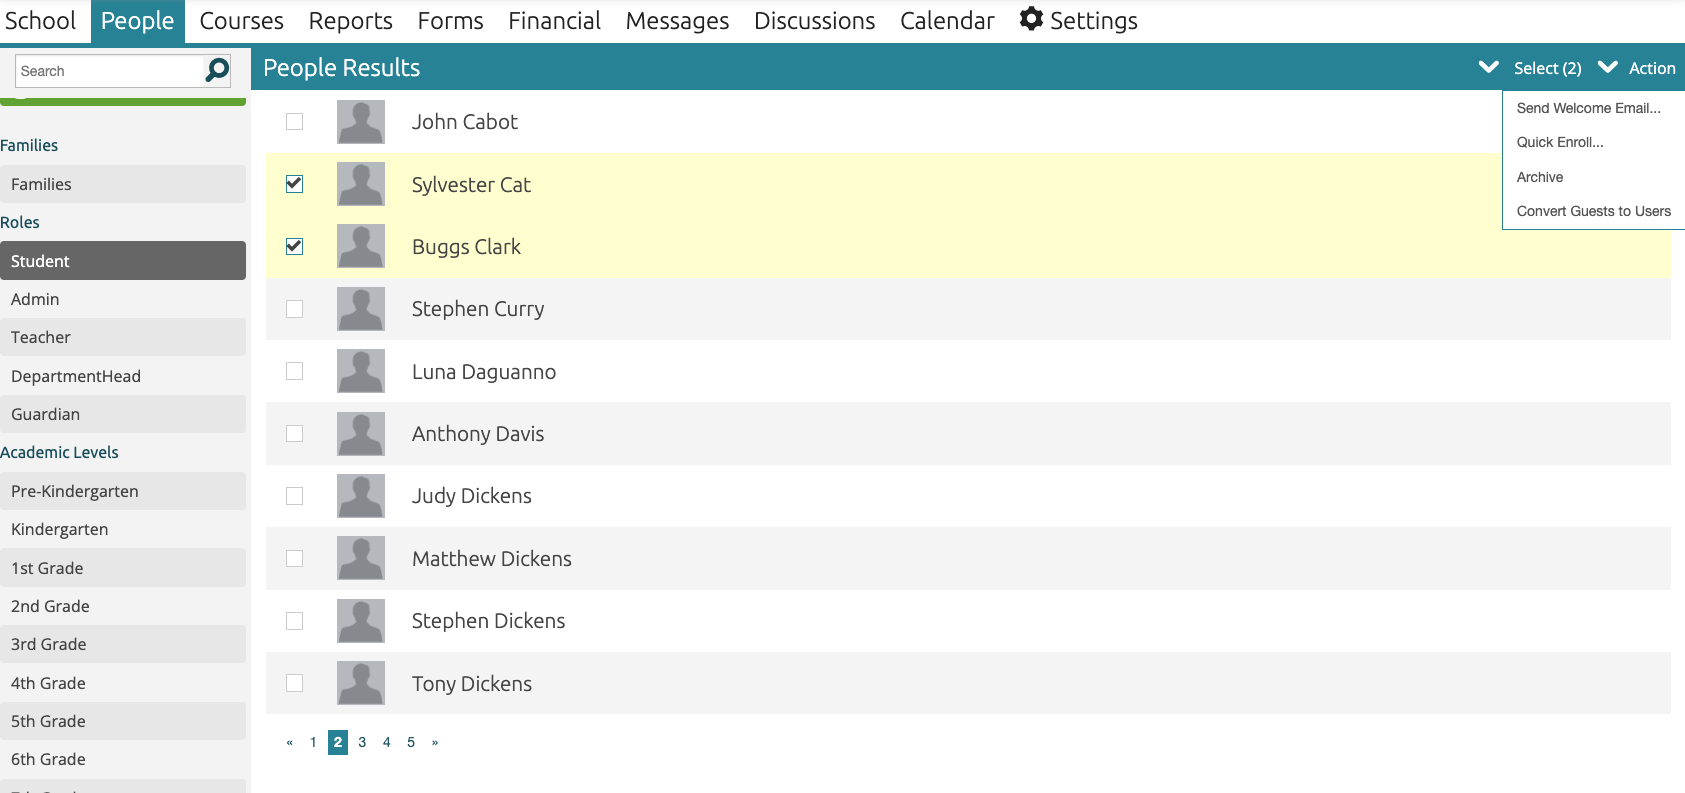
After you have selected one or more names, you can perform the following in the Action pulldown (next to the Select pulldown) in the upper right of the window:

- Send Welcome Email - this email tells them what ClassReach is and gives them a link to set up their password. This will then enable them to login to their account.
- Quick Enroll Students - from this pop up window you can select an Academic Term and one or more sections to enroll the selected students(s).
- Convert Guest to Users
- Archive - this will archive one or more selected people. You may also archive an entire family at once by selecting the family name.
If you are planning to archive a student (eg, they leave the school mid-year), ensure that you drop them from any sections first and then un-enroll the student from the Academic Term - see the article Archive a User.
To Unarchive a User
If you have archived a user and would like to make them active again, you will do this via the People page. If you search for them, they will not show up because they are archived. You will need to select the Archive filter on the left side bar, then search for their name. Clicking on their name will bring up the User Info Form and you will edit the Basic tab by clicking on the pen and paper icon. You will then see the below view.
- Change the Account Status to Active - this will also change Account Access from Locked to Enabled.
- Click the Green Check to the left of the Basic Tab to Save your changes.
- The user is now Active and will show up on the People page when you search Active Users.
- Note - to unarchive a family you will need to change each member of the family from archived to active. After you have done that the family will also be active.
Options for Editing Users
From the People page, you can select any person and edit their User Info Form or you can select a Family to edit their Family Info Form. This is where all the data on Users is kept. Depending on your school configuration, there are many things you can edit on an Info Form. Here are a few examples:
- Name: An admin can edit the full name of any user.
- Username: Usernames can be used to sign-in instead of an email address.
- Email: This can be used as a username for sign-in purposes. This will be the email to which the system sends notifications, password resets, etc.
- Roles: Roles determine the permissions of a user. Admins have many more capabilities on the ClassReach system than Teachers, Guardians, or Students. Users can also be assigned multiple roles.
Important Note: A user is allowed to have a username and no email assigned to their account. This is ideal for students who do not have a separate email address from their parents.
