Creating a Form - Step One
This article will assist you with Step One of Two in creating a form - creating a basic form framework and settings.
In the forms tab, you can create and edit a form, as well as keep track of forms and their responses. Forms are a great way to gather information from users and are completely customizable. Step One in creating a form sets up the framework and the settings that will determine who and how your users will complete the form. Next you will create the part of the form that the users will see and complete using the Form Editor. Lastly, you will test and then publish the form. This article explains the initial creation of a form and its settings.

- Sign in to your Admin ClassReach account.
- Navigate to the Forms Page at the top of your screen.
- Click the +Form button on the left hand side bar.
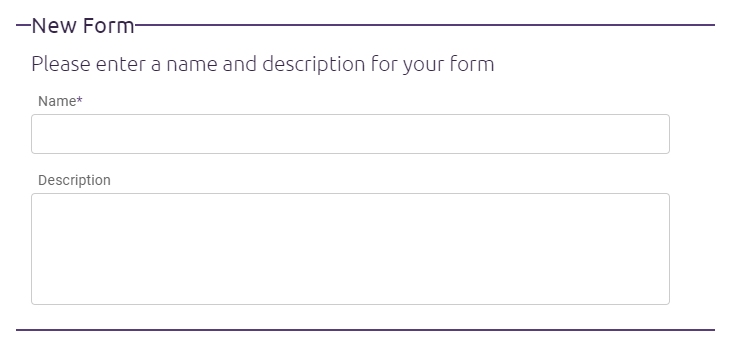
- Fill out the relevant fields:
- Name: This will be what appears as the title to your users.
- Description: Describe for your users the reason for the form.
- Click Next.
- To gather information about…
- Users: Used to gather information regarding a specific user (T-shirt orders, Hot Lunch).
- Students and Classes: Used for anything involving the relationship between the student and his/her sections. (Disciplinary Forms, Class Surveys).
- Families: Used to gather information about the student’s family (Church affiliation, Service Logs, Family Enrollment or Application Fees).
- Guests: Used to gather information from people who are not currently attending the school and are NOT yet applicants (School Inquiry, School Swag Purchase, Donation).
A Guest is a special kind of User in ClassReach that doesn't have a role or stored data other than name and email. APPLICANTS ARE NOT GUESTS. Someone typically becomes a Guest when they fill out a guest form. On the People page, you can convert a guest to a User with a role (Student, Guardian, Teacher) or send guests an application link.
Important Note: Which purpose you choose will create different options for the next few steps.
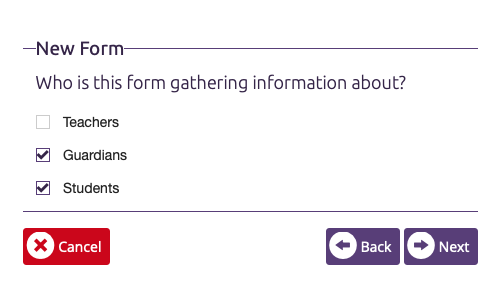
- Who is this form gathering information about?
- You can select one or multiple choices here and then click Next.

- How will users create new responses for this form?
- Unlimited responses through the Forms Summary Page: This choice will allow the form to always be available to your users, and allow them to submit a response multiple times. For example: Disciplinary Action Forms, T-Shirt Order Forms, Update Info Forms, etc.
- One response per User/Family through the Forms Summary Page: This choice will create the form once for each user/family (depending on your earlier choices) currently in the system. Once they complete the form, they will no longer have access to it. For example: End of Term Survey, Picture Order Forms, etc.
- Through a privately shared link: This choice will allow you to send a link to the form to whomever you would like to fill it out. (This choice must be selected if you have chosen to have guest/non-users complete the form)
- Select the correct method and then click Next.
- Who will be filling out this form?
- Select who you would like to complete the form. This will determine who has access to the form. For students to complete the form, you must also allow guardians. To have guests complete the form, you must choose “To gather information about guests” in the purpose.

- Select who you would like to complete the form. This will determine who has access to the form. For students to complete the form, you must also allow guardians. To have guests complete the form, you must choose “To gather information about guests” in the purpose.
- Select the correct form authors and then click Next.
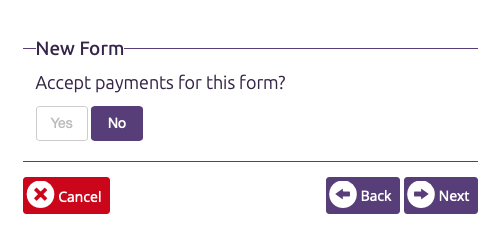
- Answer Yes/No to "Accept payments for this form?" and click Next.

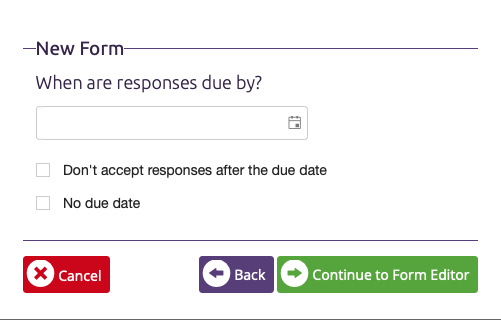
- When are responses due?
- For a date you would like responses due, you can input that here.
- If you do not want to accept responses after the due date, you can check the box next to: Don’t accept responses after the due date.
- If you do not want to have a due date, you can check the box next to: No due date.

- Click Continue to Form Editor.
- Your form's framework has been created! To complete your form - continue with the article titled - Creating a Form - Step 2 (Editing a Form) .