You will be notified via one or more of the following methods if you are required to set up Autopay for a specific Financial account (Invoices are organized into different accounts by your school admin in order to organize the financials - examples of accounts are Tuition, Fees, Incidentals, Extracurriculars, etc).
- ClassReach Message
- Home screen Notification
You may also choose to enable Autopay on an account voluntarily to allow automatic payment for some or all of your school's charges. Following are directions and a video to show you how to do that.
Scheduled payments for AutoPay are created 10 days before the invoice due date (default setting). You will need to set up AutoPay before this.
Directions
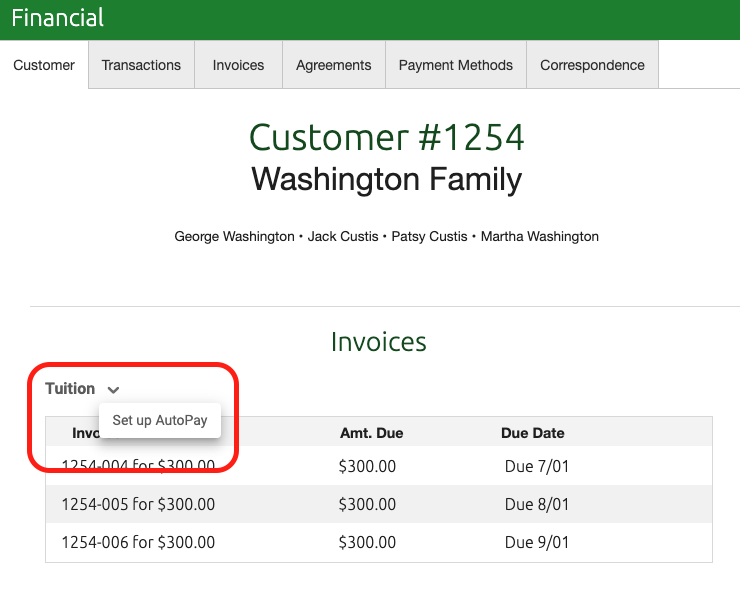
Go to the Financial page and the Customer tab.
- Click on the down arrow next to the account name ("Tuition" in this example) and select Set up AutoPay
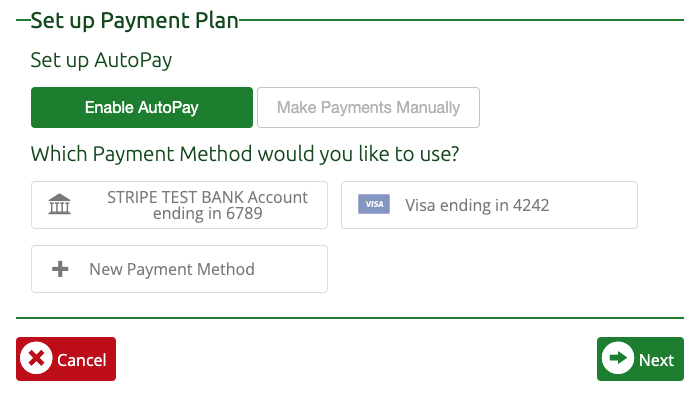
- Click on the Enable AutoPay button (this turns it green)
- Select the Payment Method you'd like to use (this turns it light green)
- Click Next
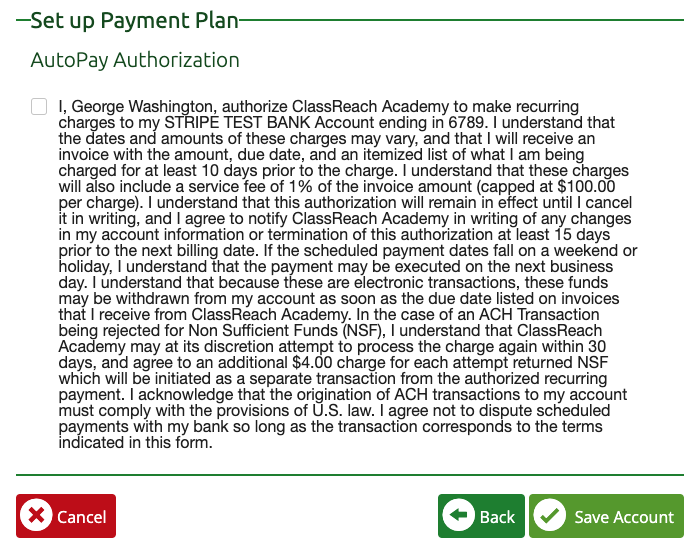
- Check the box to Authorize Autopay
- Click Save Account
Video Overview
The following video shows all these steps in detail.